It was love at first site with all the beautiful details that this headboard has
I knew exactly what I wanted to do with it.
..............Make a Bench!
yes a bench, my hubby thought I was LoCo.......
here is the picture of the footboard cut in half to make the sides
Being that I had never ask him to help me make a bench before out of a headboard he was unsure of what I was asking at the time
however, I had been dreaming and pinning beautiful headboard transformations onto my Pinterest board.
I knew once I showed him the pictures, he would be able to
OK, so he did most of the build, however I did help a little
I found some great Tutorials over at My Repurposed Life
off we went on our headboard to bench journey.
- The first thing to do when making a (twin) headboard bench is to cut the foot board in half. Using a tape measure, find the center of the footboard and mark. A table saw is the easiest way to cut it in half.
- Then on the cut ends, Two holes were drilled on each end section to place in furniture dowels. You can purchase these at HD, Lowe’s, or any home improvement store. Insert the four dowels into the holes on each side of the footboard halves, and then connect the other ends of the dowels into the holes in the side of the headboard panels. I also used some Gorilla Wood Glue for extra hold.
- Next we moved to the seat, which we used 2x4's to make a framed box and added stained repurposed wood for the seat planks. Some L Brackets, wood glue and nails hold it all together nicely.
- Next sand all the pieces well to rough it up for painting, unless however you like the chippy look. The paint will tend to chip off of any glossy areas. You can use a mid-grade grit (100) for this to rough up the glossy paint for adhesion
- Next step is to prime …….If you want a flawless finish you will want to prime here …. I did not so I skipped the prime step.
- I painted it a creamy yellow, it was a custom color I mixed together.
- Distressed it, antiqued it with a special walnut stain all over.
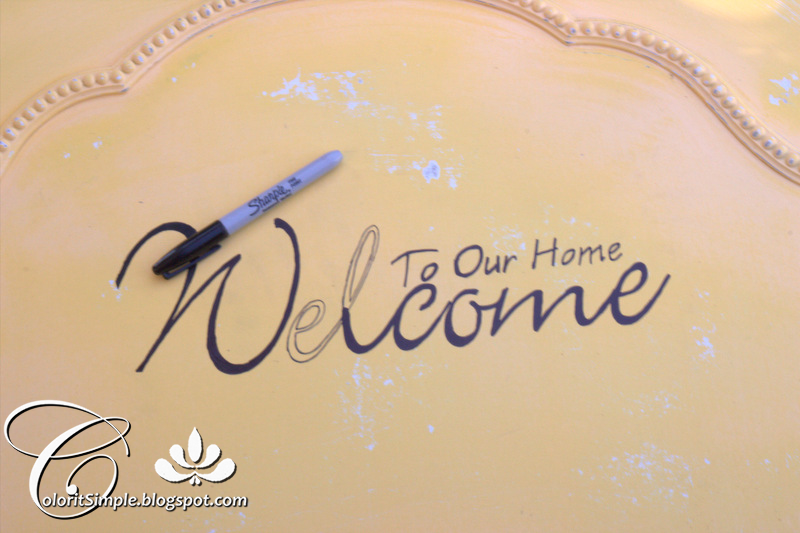
- For the back of the headboard I added Welcome to our home and gave it a turquoise patina/glaze with a polly to finish it off.
- We added an apron to the front by matching up a piece of wood to the headboard and tracing the curvature of the top and cutting out with a jigsaw. Stained it and nailed it on to the seat front.
- After she was all finished I decided a lower shelf for storage would be a great addition.
Love the details.......
I have 3 other headboards now sitting in my now almost finished Shop to repurpose. I got all of them off the side of the road :)
So what do you think of my headboard turned bench?
How have you repurposed a headboard?
Hugs to all my followers.
Until next time,


6 Thoughtful Comments:
Beautiful!
I want it ... how much? Are you selling it???
Thanks Kaye!
Melanie, it was for sale and sold! you just missed it by a few weeks. I will have a few more in the works very soon for my shop
Wow! Loved how your colors turned out. This looks so professionally done! Great job!
How did you get the words Welcome to our home on it? Sorry I don't know how to do that.
Thanks, Johanna Broome @ johanna.broome@gmail.com
I love your bench! So much, I featured it as a Friday Favorite. Hope you stop by to see it.
Have a wonderful creative weekend!
~ Robin
http://redoityourselfinspirations.blogspot.com/2015/02/friday-five-fabulous-furniture-features.html
Post a Comment