Pin It

Showing posts with label Building Project. Show all posts

August 13, 2013

Repurposed Twin Headboard & Footboard Turned Beautiful Bench


I found this beautiful twin headboard/footboard at  a yard sale last summer.


It was love at first site with all the beautiful details that this headboard has

 I knew exactly what I wanted to do with it.

..............Make a Bench!


yes a bench, my hubby thought I was LoCo.......

here is the picture of the footboard cut in half to make the sides

Being that I had never ask him to help me make a bench before out of a headboard he was unsure of what I was asking at the time


however, I had been dreaming and pinning beautiful headboard transformations onto my Pinterest board.

I knew once I showed him the pictures, he would be able to show me how to build one no problem.


OK, so he did most of the build, however I did help a little


I found some great Tutorials over at My Repurposed Life


off we went on our headboard to bench journey.


  1. The first thing to do when making a (twin) headboard bench is to cut the foot board in half. Using a tape measure, find the center of the footboard and mark. A table saw is the easiest way to cut it in half.
  2. Then on the cut ends, Two holes were drilled on each end section to place in furniture dowels. You can purchase these at HD, Lowe’s, or any home improvement store. Insert the four dowels into the holes on each side of the footboard halves, and then connect the other ends of the dowels into the holes in the side of the headboard panels. I also used some Gorilla Wood Glue for extra hold.
  3. Next we moved to the seat, which we used 2x4's to make a framed box and added stained repurposed wood for the seat planks. Some L Brackets, wood glue and nails hold it all together nicely.
  4. Next sand all the pieces well to rough it up for painting, unless however you like the chippy look.  The paint will tend to chip off of any glossy areas.  You can use a mid-grade grit (100) for this to rough up the glossy paint for adhesion
  5.  Next step is to prime …….If you want a flawless finish you will want to prime here …. I did not so I skipped the prime step.
  6. I painted it a creamy yellow, it was a custom color I mixed together. 
  7. Distressed it, antiqued it with a special walnut stain all over. 
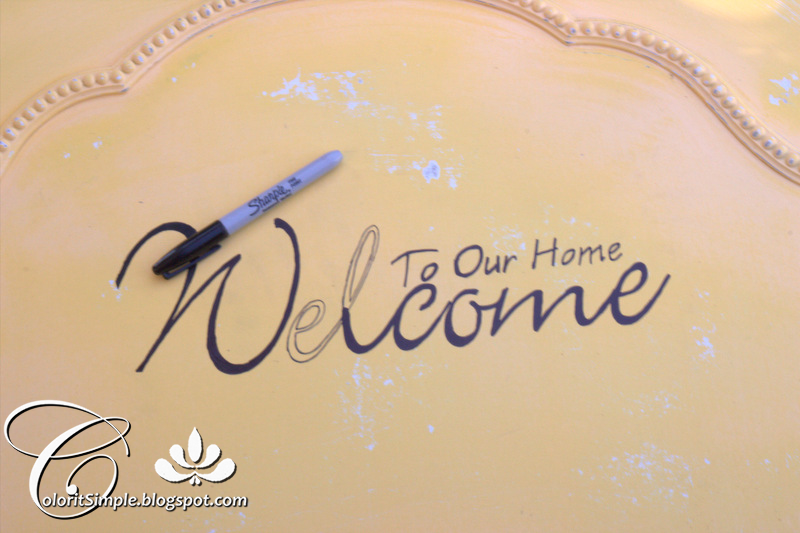
  8. For the back of the headboard I added Welcome to our home and gave it a turquoise patina/glaze with a polly to finish it off. 
  9. We added an apron to the front by matching up a piece of wood to the headboard and tracing the curvature of the top and cutting out with a jigsaw. Stained it and nailed it on to the seat front.
  10. After she was all finished I decided a lower shelf for storage would be a great addition.


Love the details.......


I have 3 other headboards now sitting in my now almost finished Shop to repurpose.  I got all of them off the side of the road :)


So what do you think of my headboard turned bench?

How have you repurposed a headboard?

Hugs to all my followers.

Until next time,
Photobucket

June 12, 2013

Sunshine Brings Building Project Back To Life


You are my Sunshine 
my only sunshine 
you make me happy when skys are grey, 
you never know dear 
how much I love you , 
please dont take my sunshine AWAY!

I am so elated that we have had a full day of "SUNSHINE."

I mean all this rain has totally put a HALT on the worksop building project (see post Let The Building Begin)

I thought I would give you guys an  update on how things are coming and where we are at.  

We started the build of  the workshop on May 28th where we laid the foundation.


May 29th, the floor was laid.


May 30th ......Rain

May 31st.....Rain


Now I am not talking just a few grey clouds with some daily showers, Im talking full on monsoon 4 inches in a few hours kinda rain, build an ARK kind of rain.

Our back yard looked like a lake, seriously standing water.

June 1st we got a break.......

So hubby was able to get the walls framed in with the help of myself, my son Jared and good friend Kaye. It took all four of us to stand up those 32 ft long walls.


One wall is up...woot!!!

Seriously, I was the crazy neighborhood lady doing a happy dance over a workshop wall. 


Now the other ones began to come together as hubby worked his DIY magic.


This DIY project was a little out of my crafty, creative know how :)


...........................BUT I did help, yep, sure did


It is really hard to take a picture of yourself while holding a heavy nail gun and doing a balancing act 12ft high on a ladder.

 Scary people, all I can say is scary. 


My son Jared and my hunkel-barry working on the construction of wall # 2


LOOKIE the 4 walls in all her glory!!!!


Hubby and I breaking for a pose with the construction.


It's coming together friends :)


can you see the happy on my face!!


Until next time,
Photobucket

June 3, 2013

Let The Building Begin


Source google

We did it! GULP


Yes it was a long time coming and needed....


We are or should I say my husband is building me a WORKSOP

I am helping of course!!!


A BARN STYLE WORKSHOP.


this is the area we were looking at building it...this is the very back of the yard

 I still can't believe it, it still seems so surreal


Hubby and I took the plunge on Memorial day.

We went to Lowe's after 2 weeks of tediously preparing our specs for our new 12x 32 workshop.


So how did this all come about you may ask.

I have this side business of furniture painting and restoration you can see some of the pieces on my Shop Page  here @ The Distressed Nest

I did not have anywhere to do this other than inside this house and that was not going to happen

 so for the last year I have been using my gazebo by the pool wrapped up in blue and silver tarps.

Seriously people, it is so redneck ..................

but a girl's gotta do, what a girl's gotta do to make it work.....right


This kept me out of the rain and sun but I had to move all my patio furniture out into the weather.

So it was time to do something to change all that redneck love.

I know my neighbors are going to appreciate not having to look at blue and silver tarps everytime they look at my home.


So  to continue with my how it came about........

We found a pre-built barn shed and really liked it but we really did not like the 6,500 price tag that came with it.

So as a DIY'er what ya gonna do.

Your gonna see how much it would cost you to do it yourself.......and friends let me tell ya it was less that half the price.

So here the start of our barn style workshop journey


Here is faithful hubby AKA (My Hunkelbarry) measuring out the foundation, having to listen to me say"

uh, I dont think that is straight.........


Im sure he is thinking "what have I gotten myself into?"


And of course I had to get my hands on the power tools.......

It was my job to nail down the flooring woot!


more to come


Stay tuned................


Until next time,
Photobucket

Photography

Shoot Fly Shoot